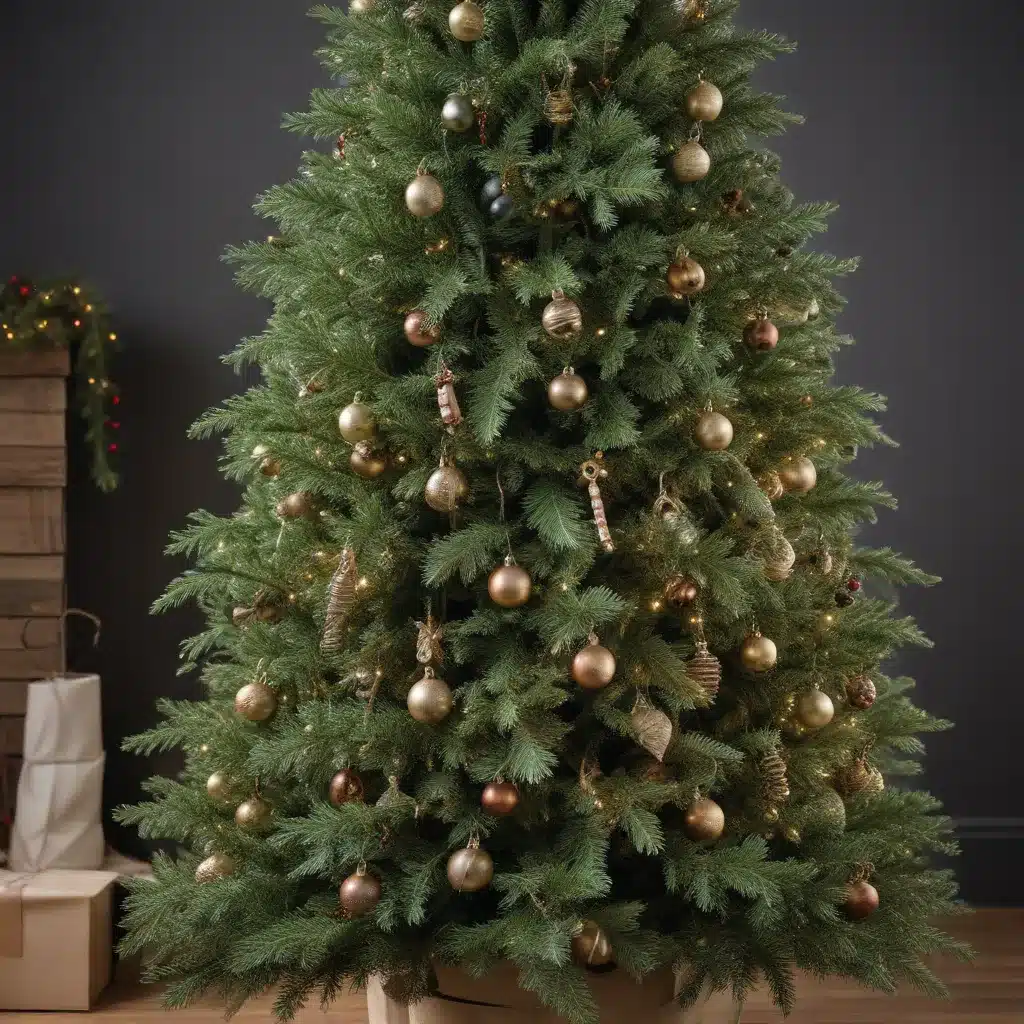
Unpack the Joy: Easy-Peasy Artificial Tree Assembly Tips for Beginners
As a holiday decorator with over 20 years of experience, I’ve seen it all – from perfectly pristine real trees to Charlie Brown-esque monstrosities. But you know what? I wouldn’t have it any other way. There’s nothing quite like the joy of decorating for the holidays, and I’m here to share my top tips for making that process as easy and stress-free as possible, especially when it comes to artificial trees.
The Joys (and Challenges) of Artificial Trees
I’ll never forget my first time setting up an artificial tree. I was fresh out of college, living in a tiny studio apartment, and determined to make my space feel festive on a budget. I excitedly brought home this massive box, unfolded the tree, and stared at it in dismay as I tried to figure out how to get those sad, limp branches to stand up straight. After what felt like hours of wrestling, I finally got it looking somewhat presentable, but it was a far cry from the lush, full trees I remembered from my childhood.
Fast forward 20+ years, and I can now assemble an artificial tree in my sleep. I’ve learned a thing or two along the way, and I’m excited to share my hard-won wisdom with you. Artificial trees have come a long way, and with the right approach, you can create a holiday centerpiece that looks just as beautiful (if not more so!) than a real tree.
Choosing the Right Artificial Tree
The first step is selecting the right artificial tree for your space and needs. At ArtificialChristmasTreeShop.com, we offer a wide variety of options, from slim, space-saving trees to full, lush styles. When choosing, consider factors like:
- Tree height: Measure your ceiling height and leave a few inches of clearance to avoid a tree that’s too tall.
- Tree width: Make sure the tree will fit comfortably in your designated spot, with room to move around it.
- Tree shape: Slim trees are great for small spaces, while fuller trees create a classic, cozy look.
- Tree material: Look for trees with high-quality, realistic-looking needles that hold their shape well.
I always recommend going a bit bigger than you think you need – artificial trees have a tendency to look a bit sparse once they’re fully decorated. And don’t forget to factor in storage space when choosing your tree size!
Unpacking and Assembling with Ease
Okay, let’s dive into the fun part – actually setting up your tree! This is where all my hard-earned experience comes in handy. Here are my top tips for a stress-free assembly:
Unpack Methodically
When you first open the box, take a deep breath and resist the urge to just start yanking everything out. Instead, carefully unpack the tree sections one by one, laying them out in the order you’ll assemble them. This will make the process much smoother.
Start from the Bottom
Begin by attaching the tree’s base section to the stand. Make sure it’s securely in place before moving on. Then, work your way up, connecting each section according to the instructions.
Fluff as You Go
As you add each section, take a few minutes to carefully fluff and shape the branches. Start from the bottom and work your way up, gently pulling and arranging the tips to create a full, lush look. This will save you a ton of time versus trying to fluff the whole tree at the end.
Use the Included Tools
Many artificial trees come with handy tools like branch clips or spreaders. Don’t be afraid to use them! They can make the fluffing process so much easier.
Take Breaks as Needed
Setting up a larger tree can be physically demanding. Don’t be afraid to take a breather if you need one. Grab a snack, stretch your back, and come back refreshed and ready to tackle the rest.
Bringing the Magic to Life
Once your tree is fully assembled and fluffed to perfection, it’s time for the really fun part – decorating! This is where all your creativity can shine. I always recommend starting with the lights, making sure to evenly distribute them throughout the tree. Then, add your ornaments, garlands, and other special touches.
One of my favorite tricks is to incorporate a mix of ornament sizes and shapes to create visual interest. I also love adding in unexpected elements like dried citrus slices or cinnamon sticks for a natural, rustic vibe.
And don’t forget the tree topper! This is the crowning glory of your holiday display, so choose something that really speaks to your personal style. Whether it’s a classic star, an elegant angel, or a whimsical figurine, the topper ties the whole look together.
The Joys of an Artificial Tree
After all these years, I still get giddy with excitement when it’s time to start decorating for the holidays. And you know what? Artificial trees have become my absolute favorite. They’re so convenient, low-maintenance, and customizable. Plus, with the amazing quality and realism of today’s options, I can create a stunning holiday display without the hassle of watering, vacuuming up needles, or worrying about my curious pets.
So if you’re new to the world of artificial trees, don’t be intimidated. With a little know-how and a whole lot of holiday spirit, you can absolutely create a magical, personalized display that will bring joy to your home for years to come. Happy decorating!

