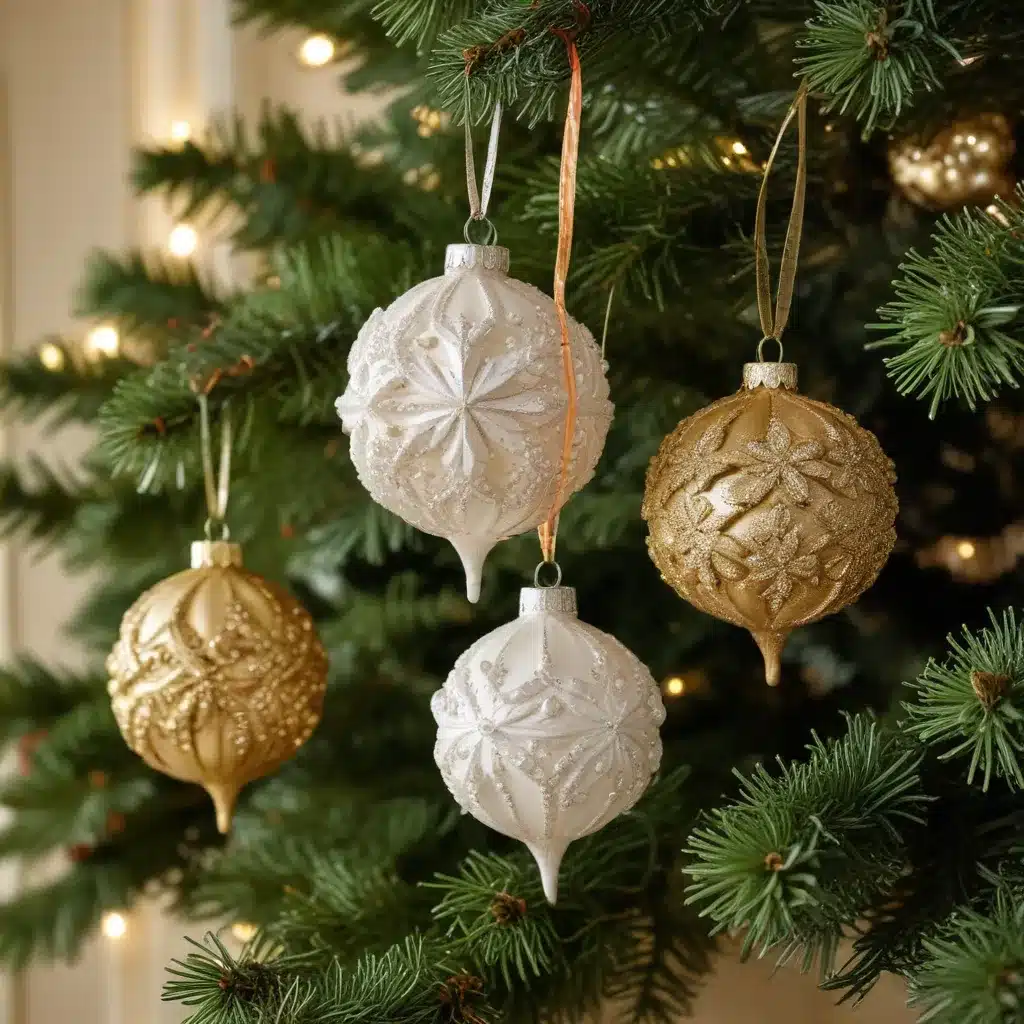
‘Tis the season to infuse your home with the warmth of handmade charm and the sparkle of festive creativity. As the holiday spirit takes hold, there’s no better way to celebrate than crafting your personalized Christmas ornaments. In this enchanting journey of DIY delight, we’ll guide you through creating dazzling ornaments that capture the essence of the holidays.
Crafting Holiday Magic with Homemade Ornaments
Gather your crafting essentials and join us on this merry endeavor, where simple materials transform into radiant ornaments that tell a story of joy, family, and the spirit of giving. Whether you’re a seasoned crafter or just starting, these DIY Christmas ornaments promise to bring a unique touch to your holiday décor. So, let the glitter fly, the glue set, and the festive magic unfold as we dive into the art of ornamentation. It’s time to craft holiday magic and make this season truly shine.
Snowy Styrofoam Ornaments
Step 1: Preparing the Styrofoam Balls
Begin by pressing a dowel rod into each Styrofoam ball. This provides a convenient handle for crafting and facilitates the drying process. Coat a little more than half the ball’s top with a generous layer of craft glue. This will serve as the adhesive canvas for the snowy magic to come.
Step 2: Adding Snowy Magic
Roll the glue-coated Styrofoam ball in a shallow pan filled with artificial snowflakes. Ensure an even distribution by gently pressing the flakes onto the surface. To remove excess flakes, gently tap the ball, then prop it up to dry. Patience is essential during this step, as the drying process sets the foundation for the following layers of festive delight.
Step 3: Attaching Foil Cupcake Liners
Once the glue has been set and dried, it’s time to add a touch of elegance with foil cupcake liners. Apply hot glue to the bottom and top inside each liner. Press the Styrofoam ball firmly into the liner, ensuring a tight bond. Exercise caution to avoid pushing the ball too far down, preventing a curved bottom. This step sets the stage for the final enchanting touches.
Step 4: Adding Berries and Hanging Details
Snip berries from the branch, leaving about an inch of stem. These berries will infuse vibrant color and festive charm into your ornament. Cut lengths of ribbon or decorative thread for hanging. Add a dollop of hot glue to the top of each Styrofoam ball, then press the ribbon tails into the glue. Allow thorough drying before displaying your masterpieces. This patience ensures that your DIY Christmas ornaments are visually stunning, sturdy, and ready to adorn your tree with holiday magic.
Crafting with Children: A Joyful Family Experience
The holiday season is a time for creating cherished memories, and what better way to do so than by involving the little ones in the joy of crafting your own DIY Christmas ornaments? Crafting with children adds a layer of magic to the holiday experience, fostering creativity and making the season even more special. Here are some steps to ensure a fun and safe crafting session with the little hands that bring so much joy to your home:
-
Prepare the Workspace: Cover your crafting surface with a plastic tablecloth or butcher paper to contain any mess. Gather all the necessary materials, including non-toxic glue, child-safe scissors, and a variety of festive embellishments like pom-poms, sequins, and glitter.
-
Provide Guidance and Supervision: Assist the children with each step, ensuring their safety and helping them achieve their desired results. Offer guidance on techniques, such as how to apply glue or cut shapes, but allow them the freedom to express their creativity.
-
Celebrate the Process: Encourage the children to explore their imagination and get hands-on with the materials. Praise their efforts, no matter the outcome, and remind them that the joy is in the act of creating.
-
Display Their Masterpieces: Hang the children’s ornaments with pride, showcasing their unique creations on your tree or around your home. This simple gesture will fill them with a sense of accomplishment and delight.
Crafting with children not only creates lasting memories but also fosters a deeper appreciation for the holiday season. As they take pride in their handmade ornaments, they’ll learn the value of creativity, teamwork, and the true spirit of the holidays.
Elevating Celebrations with Kaya Tableware
Amidst the festive season’s crafting endeavors, let’s take a moment to shine a spotlight on the unsung hero of holiday hosting – Kaya Tableware’s exquisite line of disposable plastic dinnerware. Elevating your celebrations to new heights of convenience and style, Kaya Tableware offers a range of thoughtfully designed products that cater to every hosting need.
From elegant gold glitter starbursts to durable and reusable plastic plates and cups, Kaya Tableware’s offerings bring a touch of radiance to your gatherings. These decorative and functional pieces effortlessly complement the holiday spirit, allowing you to focus on creating unforgettable experiences for your loved ones.
As you deck the halls and craft your personalized ornaments, let Kaya Tableware’s stylish and sustainable solutions simplify your hosting duties. Bid farewell to the hassle of endless dish-washing and embrace the convenience of disposable elegance, freeing up time and energy to savor the joyous moments with family and friends.
May your DIY ornaments twinkle with the magic of the season, and may your holiday gatherings be filled with the warmth of homemade charm and the convenience of Kaya Tableware. Here’s to a season of sparkle, shine, and the enduring magic of handcrafted holidays. Wishing you and your loved ones a truly joyful and memorable festive season!

