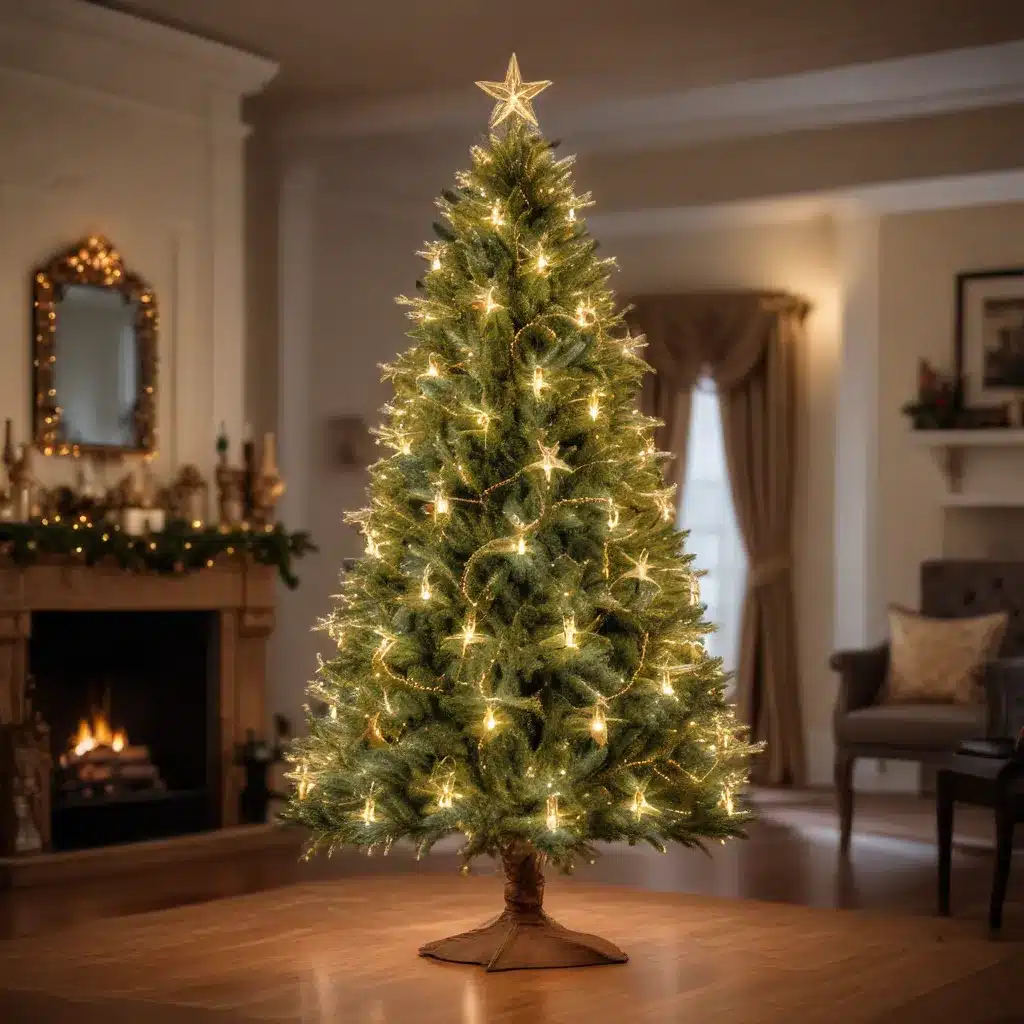
Beyond Twinkling Lights: Innovative Pre-Lit Christmas Tree Designs to Elevate Your Decor
As a professional holiday decorator with over 20 years of experience, I’ve seen it all when it comes to Christmas trees – from sparse, sad little specimens to grand, show-stopping centerpieces that make jaws drop. Over the decades, I’ve refined my approach to tree decorating, learning which tricks and techniques consistently deliver that magazine-worthy look. And you know what? It’s not about buying the most expensive ornaments or following the latest trends. It’s about understanding the fundamentals and putting in the time to get the details just right.
Start with the Right Tree
When it comes to choosing the perfect artificial Christmas tree, I’ve learned that not all trees are created equal. Sure, a pre-lit tree seems like the easy way to go, but in my experience, those built-in lights are often the first thing to fail. Plus, being locked into one light color temperature (usually either too warm or too cool) really limits your decorating options down the line.
That’s why I always recommend an unlit tree. Yes, it takes a bit more time to add the lights yourself, but the creative flexibility and long-term reliability make it worth the extra effort. With an unlit tree, you can choose the exact light color and temperature that suits your style, and easily replace any strands that stop working over time.
The difference between a good artificial tree and a great one also comes down to construction. Look for one with a high percentage of “Real Touch” or PE (polyethylene) branches, especially on the outer areas. These materials create a much more realistic, full appearance. And don’t worry if the inner core uses some PVC branches – that helps with overall shape and keeps the price reasonable.
Master the Lighting Layering Technique
Great lighting is the foundation for everything else you add to your tree. I’ve found that the key to a professionally-lit tree is all about layering. Start with a base layer of lights, then add more strands for extra brightness and depth.
My foolproof formula is to use about 100-150 lights per vertical foot of tree. So for a 7-foot tree, you’ll want 700-1,050 lights. Want an extra-bright, show-stopping display? Double those numbers for a “Rockefeller Center” effect.
Always start winding the lights from the bottom of the tree, working your way up. This ensures the power source is hidden and the cord disappears into the branches. For added depth, try weaving the lights horizontally through the branches, creating a triangle pattern as you go. This layered approach makes every inch of your tree sparkle.
Add Stems and Picks for Dimension
Once your lights are perfectly placed, it’s time for one of my favorite decorating secrets – adding stems and picks. These often-overlooked elements create that rich, layered look you see in designer trees. I always begin with branch-type stems because they build the foundation, adding color, texture, and visual interest.
Don’t be afraid to use flowers on your Christmas tree too! Poinsettias, magnolias, and other blooms add a touch of elegance. The key is building layers – think of it like creating depth in a painting. These elements will peek through your ornaments later, adding that professional, thoughtful look.
Ribbon Elevates the Entire Design
From bold and dramatic to soft and organic, ribbon can transform your tree in so many ways. For a traditional full coverage look, I recommend using 2-3 inch wide ribbon, wrapping it around the tree in a spiral pattern. Need a more modern, organic feel? Try cascading ribbon down the tree in loose, asymmetrical drapes.
No matter which ribbon style you choose, plan on using about 10-15 yards for a standard 7.5-foot tree. And always buy an extra roll – it’s better to return it than run short! The right ribbon placement is all about balance. Use the classic cascade method, the simple bow technique, or try the loop trick for a high-impact topper.
Ornaments Add the Finishing Touches
Ornaments are the jewelry that make your tree shine. As a general guideline, I recommend 80-100 ornaments for a 7.5-foot tree. This assumes you’ve already added floral picks, stems, and ribbon. For a fuller look, you can always add more, but start here – it’s easier to add than remove.
Think of your tree in layers – start with your larger statement pieces, then fill in with medium and small ornaments. I love creating ornament clusters for maximum impact. Just be sure to balance the placement, mixing sizes, colors, and textures throughout.
Ditch those green hooks! Instead, use clear ornament hooks or delicate fishing line to hang your precious heirlooms. This invisible approach keeps the focus on the ornaments themselves.
Final Touches Elevate the Entire Design
After all your careful work with lights, ribbon, and ornaments, it’s time to finish strong. These last details pull everything together and complete your tree’s story. The right topper acts like a crown, while your tree skirt or decorative collar provides the perfect finishing touch.
For toppers, consider both traditional and modern options. Oversized bows, large stars, and statement-making angels can create instant drama. Or try something more minimalist, like a single dramatic branch or a cluster of pinecones.
Whether you choose a classic tree skirt, a sophisticated collar, or a rustic basket, these final elements ground your tree and tie the entire design together. Take one last walk around, make any small tweaks, and enjoy your masterpiece!
After three decades of decorating trees, I can tell you that creating a beautiful Christmas tree isn’t about following rigid rules. It’s about layering your personal style, blending classic elements with modern twists, and taking the time to get the details just right. Start with a solid foundation, then let your creativity shine. With these techniques, you’ll be crafting magazine-worthy trees year after year.
Wishing you a very Merry Christmas and a joyful holiday season!

