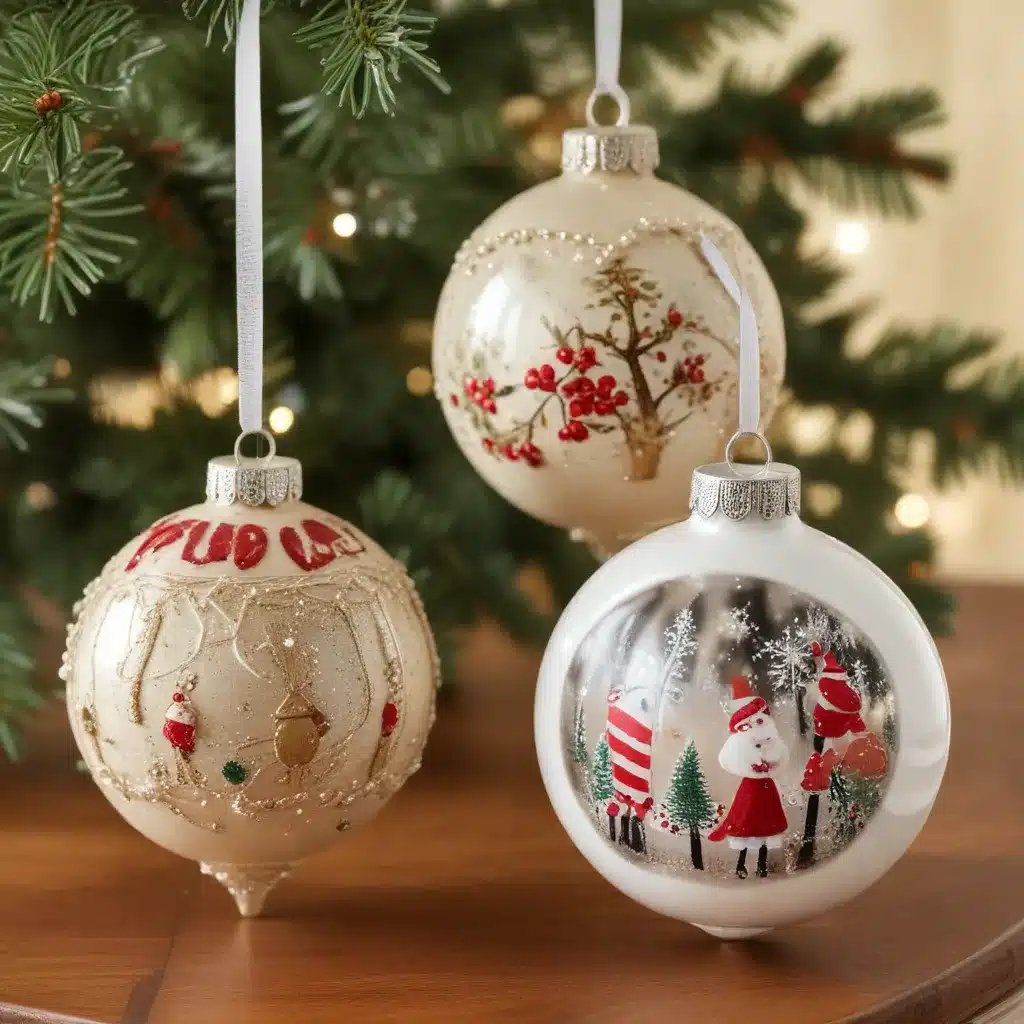
As a seasoned expert in holiday decor and artificial Christmas trees, I’m thrilled to share my insights on creating homemade ornaments that will become cherished keepsakes for years to come. Decorating your home for the holidays is a time-honored tradition, and nothing captures the spirit of the season quite like handmade ornaments that reflect your unique style and family memories.
Discover the Joy of DIY Snow Globes
One of my favorite holiday crafts is making DIY snow globes. These charming miniature scenes capture the whimsical wonder of a winter wonderland, and they’re surprisingly easy to create. All you need are a few basic supplies like jars, figurines, glitter, and distilled water.
The Step-by-Step Process
-
Prepare the Jars: Start by thoroughly cleaning and drying your jars. You can even use Oui yogurt jars for a cute, compact size. Scuff up the underside of the lid with sandpaper to help the epoxy adhere.
-
Attach the Figurines: Use a small amount of epoxy to securely attach your chosen figurines or miniatures to the underside of the lid. Allow the epoxy to fully dry before moving on.
-
Fill with Water and Glitter: Fill the jar just shy of the top with distilled water. Add a tiny drop of glycerin to help suspend the glitter, then sprinkle in your desired amount of glitter, ranging from a light dusting to a snowy flurry.
-
Seal and Shake: Carefully place the lid with the figurine onto the jar and screw it on tightly. Give it a gentle shake to set the scene, and your DIY snow globe is ready to display!
The glycerin is the secret ingredient that helps the glitter float enchantingly. If you don’t have glycerin on hand, you can also use corn syrup or a bit of baby oil to achieve a similar effect.
These homemade snow globes make wonderful gifts or decorative accents around your home. Consider painting or decorating the lids to add a personal touch. Kids love getting involved in the process, too, making it a fun family activity.
Fingerprint Christmas Tree Ornaments
Another heartwarming DIY ornament idea is the fingerprint Christmas tree. Using air-drying clay or salt dough, you can create a unique keepsake that captures the tiny fingerprints of your loved ones. This collaborative craft is perfect for involving the whole family.
A Step-by-Step Guide
-
Prepare the Clay: Roll out your chosen clay, whether it’s homemade air-drying clay or a classic salt dough, to about a 1/2 cm thickness. Use a Christmas tree-shaped cookie cutter or freehand a tree template to cut out the ornament shapes.
-
Imprint Fingerprints: Take turns pressing your fingertips into the clay to leave distinctive prints. Encourage little ones to get involved by using their thumbs or letting them dab ink onto their fingers before imprinting.
-
Add Finishing Touches: Once the fingerprints are in place, use a permanent marker or paint to transform the prints into a string of twinkling lights. You can also add the year or a personalized message to the ornament.
-
Dry and Assemble: Allow the ornaments to fully dry, which may take 24 hours or more depending on the clay. Once dried, you can add a twine or ribbon loop for hanging.
These charming fingerprint ornaments make thoughtful gifts for grandparents, godparents, or anyone who appreciates the personal touch of handmade holiday decor. They also serve as wonderful keepsakes, capturing the changing sizes of little hands over the years.
Elegant Salt Dough Ornaments
For a more sophisticated DIY ornament, consider creating beautiful salt dough designs using intricate cookie molds or stamps. The combination of a simple dough recipe and detailed imprints results in stunning, heirloom-quality decorations.
Crafting Timeless Salt Dough Ornaments
-
Make the Dough: Mix together a simple salt dough recipe, which typically includes flour, salt, water, and sometimes oil or cream of tartar. This dough is easy to work with and bakes up beautifully.
-
Impress the Designs: Roll out the dough and use springerle-style cookie molds or stamps to create detailed, intricate designs. The patterns can range from classic holiday motifs to more abstract or nature-inspired elements.
-
Bake and Finish: Carefully transfer the shaped ornaments to a baking sheet and bake at a low temperature until hardened. Once cooled, you can paint, stain, or coat the ornaments with a glossy sealant like Mod Podge for a beautiful, long-lasting finish.
These elegant salt dough ornaments make wonderful gifts and can become cherished family heirlooms, passed down from generation to generation. The timeless designs and natural materials create a rustic, homespun charm that complements any holiday decor.
Infusing Personalized Touches
Whether you’re crafting snow globes, fingerprint trees, or salt dough designs, one of the most rewarding aspects of DIY ornaments is the ability to infuse them with personal touches and family memories. Consider adding the year, names, or special messages to your creations to make them even more meaningful.
Preserving Holiday Traditions
As you carefully unpack your homemade ornaments each year, you’ll be transported back to the moments you spent creating them. The process of making these keepsakes can become a beloved family tradition, with each new ornament representing a special time and the growth of your loved ones.
Incorporating homemade ornaments into your holiday decor is a wonderful way to celebrate the true spirit of the season. These DIY projects not only add a unique and personal touch to your home but also foster cherished memories that will be passed down for years to come.
So, gather your supplies, get creative, and start crafting your own homemade holiday treasures to adore and display with pride. Happy holidays!

